As consultants in the field of IoT solutions, we often work closely with our customers on bespoke projects. Effective daily collaboration is essential to ensuring successful project delivery, meeting the customer’s requirements and keeping the project on track. However, managing collaboration tools can be challenging, as different companies use different platforms, such as Slack, Microsoft Teams or Google Hangouts, and inviting external parties to your internal space is not always possible.
To facilitate efficient communication and data sharing, a secure shared collaboration space is necessary. It is imperative that the shared space has robust data security measures in place to protect sensitive information from potential breaches and maintain the confidentiality of the information shared.
Upon completion of the project, the collaboration space should be securely disposed of, leaving no trace of the shared data. This is where Synpse comes in as a solution. Our self-hosted device management platform allows for quick deployment and management of a Rocket Chat server on your own infrastructure, ensuring that the collaboration space is secure and that the data shared is protected from potential breaches.
Prerequisites
- Synpse account (free)
- Synpse CLI - important!
- faros CLI faros CLI to expose the Rocket Chat server to the internet
Step 1: Create a faros connection with dedicated hostname
We utilized faros.sh to make the Rocket Chat server accessible over the internet. Other alternatives include webhookrelay, caddy, and ngrok, but we chose faros due to our affiliation with its creation and to demonstrate its ease of use.
|
|
Store these details for later use.
Step 2: Deploy the Rocket Chat server
Deploy Rocker chat server onto your device manged by Synpse.
On your terminal, use the synpse CLI by running the following command:
- Add faros connection ID and token to the environment variables into the
faroscontainer. - Add faros hostname to the
ROOT_URLenvironment variable in therocker-chatcontainer.
If you want, you can use secrets for the faros connection ID and token. You can find more information about secrets here.
synpse deploy -f rocker-chat.yaml
where rocket-chat.yaml is the following:
|
|
Step 3: Initialize MongoDB replica set
Once the application is deployed, we need to initialize the MongoDB replica set. This is one-time operation that needs to be done only once after the application is deployed.
To do this, we need to run the following command:
|
|
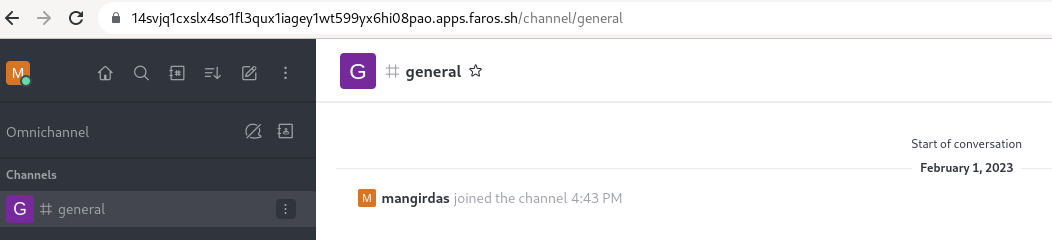
Step 4: Access the Rocket Chat server
Once the application is deployed, you can access the Rocket Chat server by visiting the hostname that you got from the faros connection create command.
What is important that data is stored on your device and not on the cloud. This way, you can ensure that the data is protected from potential breaches. Once you are done with the project, you can destroy the application and the data will be deleted from your device:
|
|
