Hardware
- Raspberry Pi 4
- 5V 3A power supply
- 128GB SD card
Software
- Synpse - provides app deployment, SSH and HTTPS access.
- Vuetorrent - Vuetorrent is a nice looking skin for otherwise a bit dated qbittorrent
- Plex - probably the best option to stream things locally to your smart TV.
Intro
I guess we all know that torrents present a fantastic opportunity (amongst other things) for families to digitize their old VHS tapes that contain embarrassing videos of your childhood and then share these videos with others using an efficient BitTorrent protocol.

Then, once everyone has those videos that were supposed to die together with the old technology we also need to watch them, this is where the good guy Plex comes in.
In this short tutorial we will setup a Vuetorrent and Plex combo on a RaspberryPi. Using this installation method you will get few great things out of the box:
- Drag & drop torrent files to download them. You can select individual files from a larger torrent like in any other client.
- Shared directory between torrent client container and Plex so you can view them
- Optional public HTTPS URL to connect to Vuetorrent from anywhere in a form https://dev-{YOUR ID}.synpse.cloud
Step 1: Install Docker
Depending on your RaspberryPi OS Docker installation might vary but in most cases this script from https://docs.docker.com/engine/install/ubuntu should do the job:
curl -fsSL https://get.docker.com -o get-docker.sh
sudo sh get-docker.sh
Step 2: Install Synpse agent on your device
Log into your Synpse account, navigate to the “Devices” section and then click on “Provision”. Use the command in your RaspberryPi terminal. This will download, install and initialize the synpse agent.
Once the device has appeared in your Synpse dashboard:
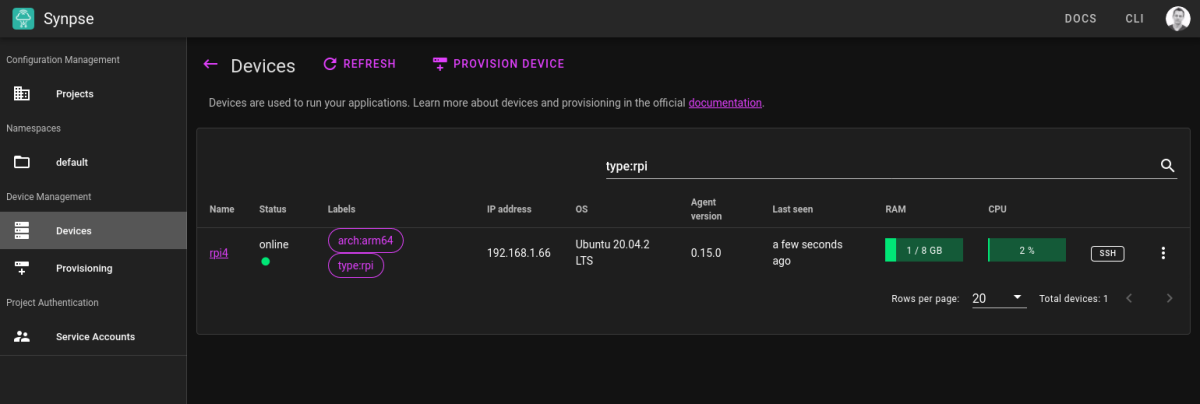
Once device is visible, click on the “edit labels” from the menu. Add a label ‘type: rpi’:
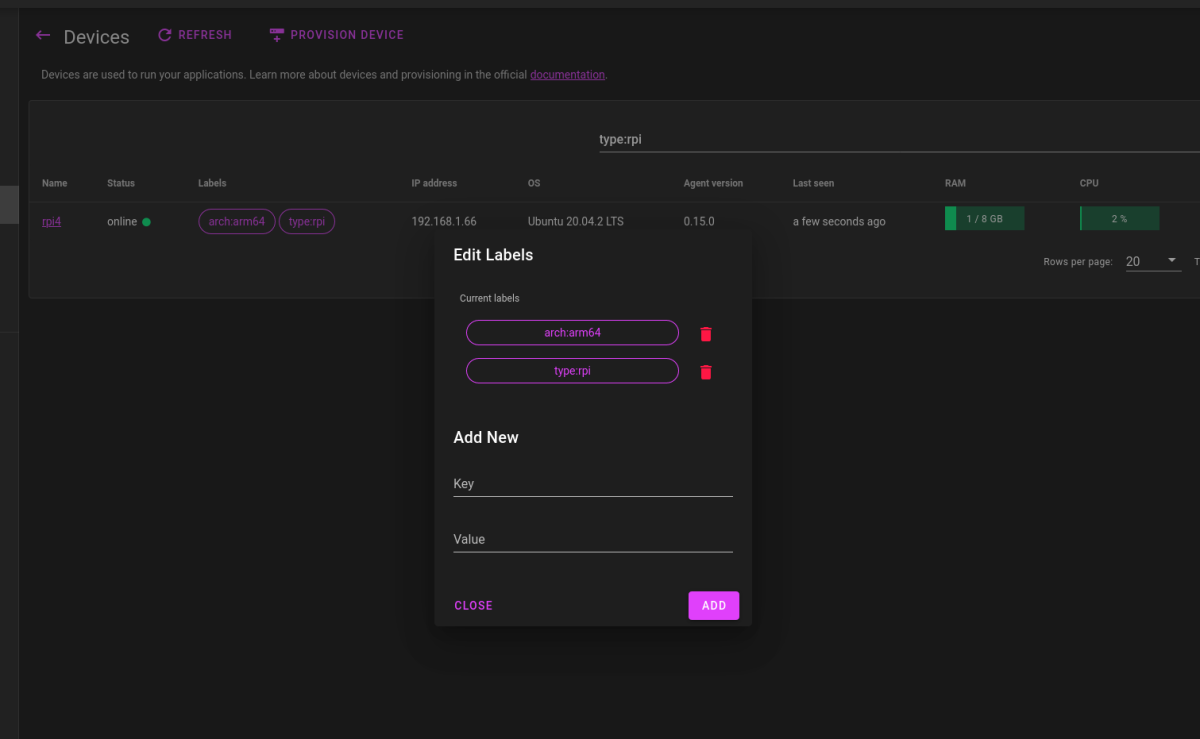
In Synpse, applications are installed into the devices based on device labels so it’s a good practice to label your devices accordingly.
Step 3: Create Vuetorrent and Plex deployment
Applications in Synpse are defined in yaml format. If you have used Docker Compose or Kubernetes before, it will feel familiar. You can read more about them here.
To create the application:
- Select the namespace (should be ‘default’ on the left side menu)
- Click on “New Application” button in the top
- Copy paste the yaml from below
|
|
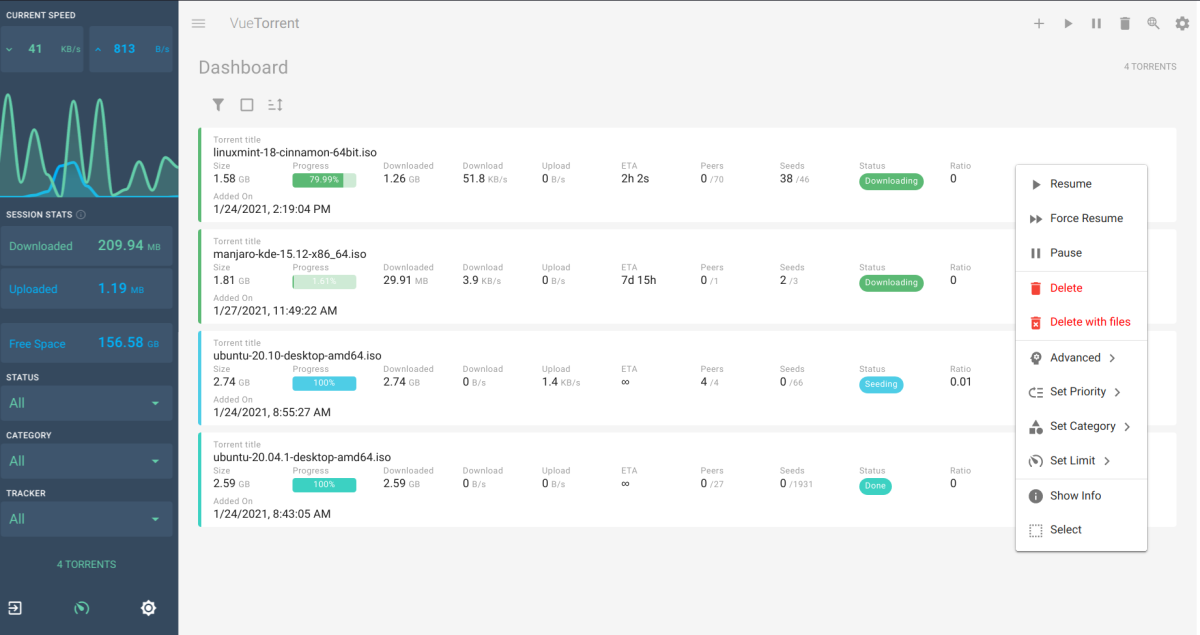
Logging into the Vuetorrent:
Once deployed, it will take a few seconds or minutes (depending on your internet speed) to download and start the docker containers. Once started, you can access it on http://{YOUR DEVICE IP}:80 address. Initial username is admin and password is adminadmin.
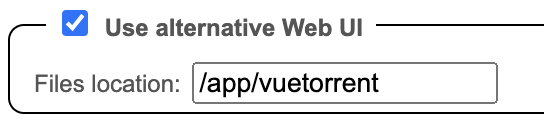
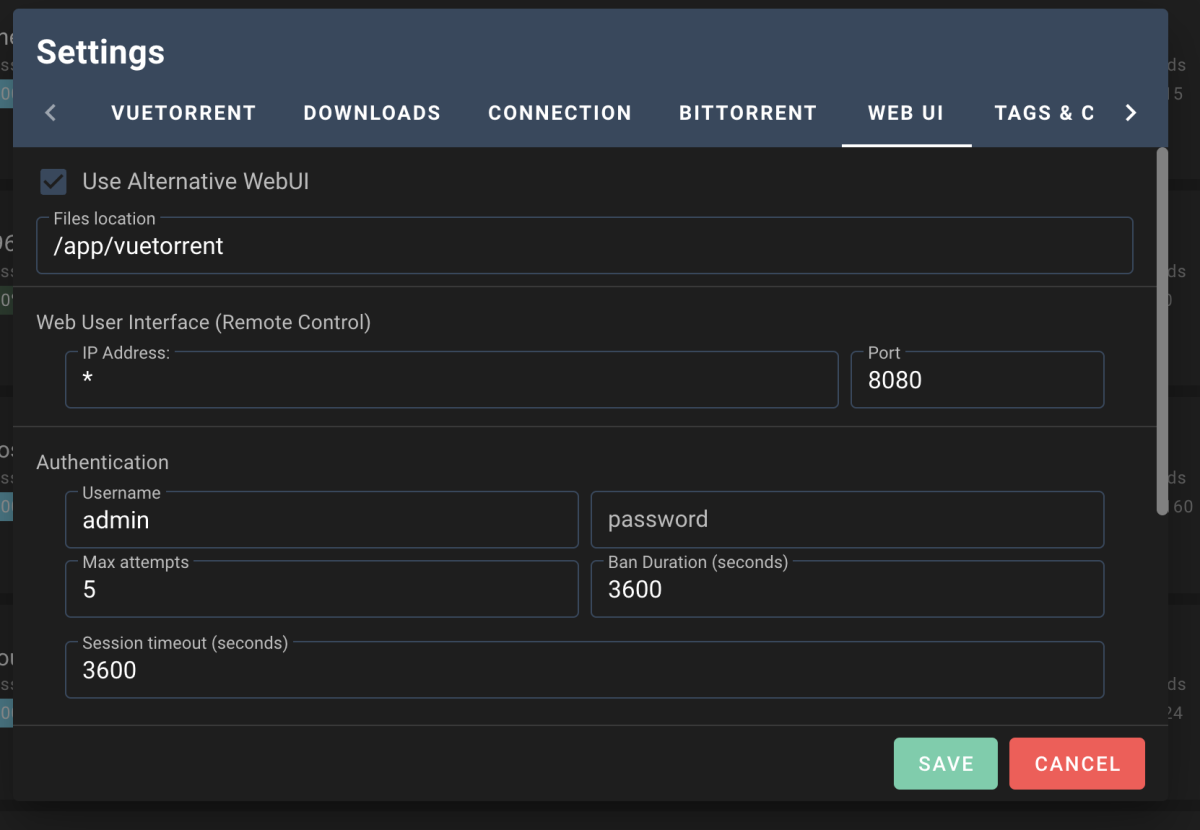
Once logged in, go into settings and configure the UI theme:
Then, change your password:
Logging into Plex:
You can login into it using port http://{YOUR DEVICE IP}:32400
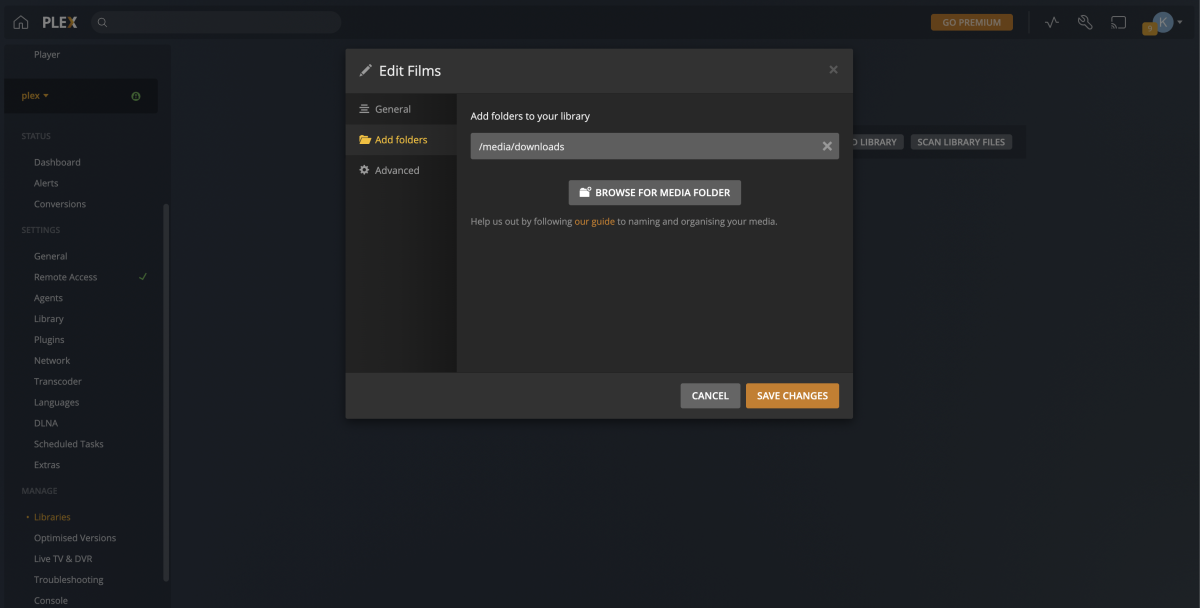
Step 4: Configuring Plex libraries
To see whatever you have downloaded via Vuetorrent to your local machine in Plex. For both Films and TV Shows the media path should be /media/downloads:
Step 5 (optional): Expose it to the internet so you can connect from anywhere
At this step we will enable remote access via HTTPS to our Vuetorrent installation on the RaspberryPi. If you have skipped password setup, please do it, otherwise malicious users or automated bots could hijack your device.
- Go to your device details
- In the top right corner set the port to your Vuetorrent port which should be 80
- Turn on the switch
Next Steps
Connect your smart TV
Most TVs now have inbuilt Plex TV apps. You can use it to pair it with your Raspberry Pi server. As long as you are using same account, it should just work.
Download content
Add a torrent to the Vuetorrent dashboard. Once downloaded, it should appear in your Plex library.
References
- https://www.qbittorrent.org/ - torrent client
- https://hotio.dev/containers/qbittorrent/ - Docker image with embedded Vuetorrent
- https://hub.docker.com/r/linuxserver/plex/tags - LinuxServer.io provided Plex Docker image
- https://www.plex.tv/en-gb/ - streaming app
